RESOURCES
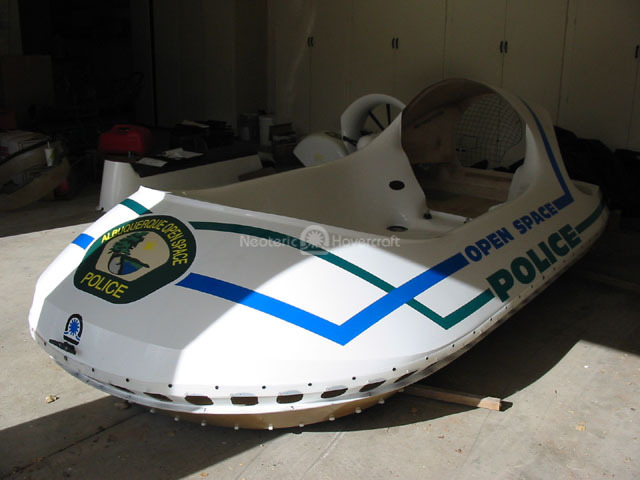
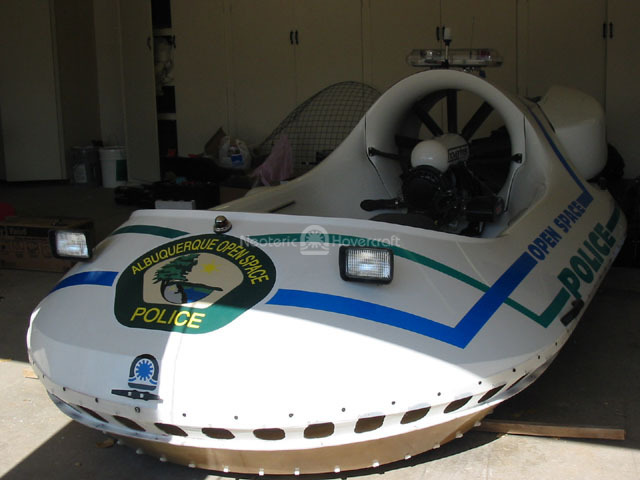
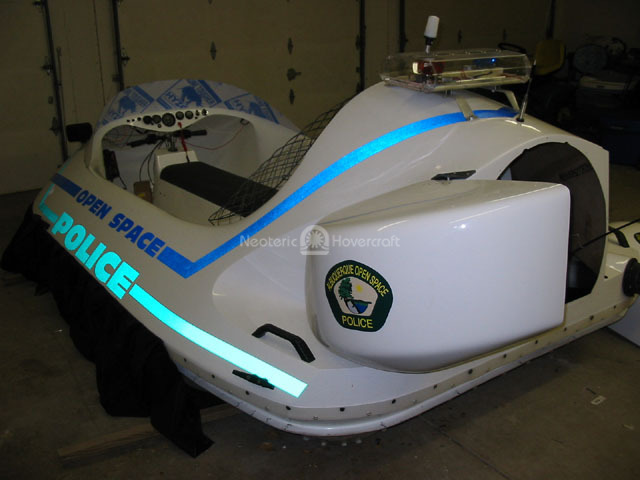
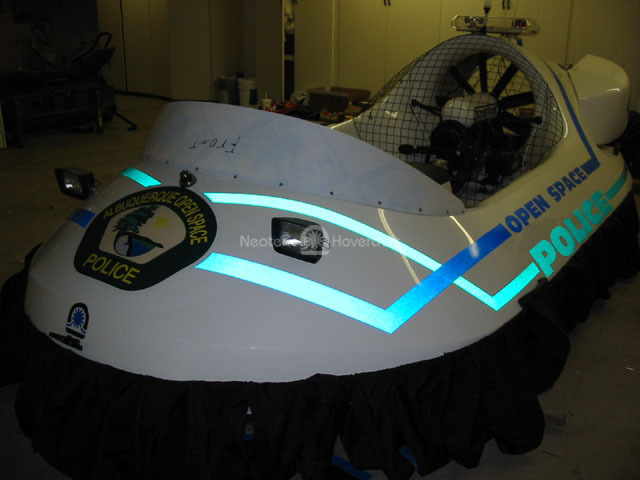
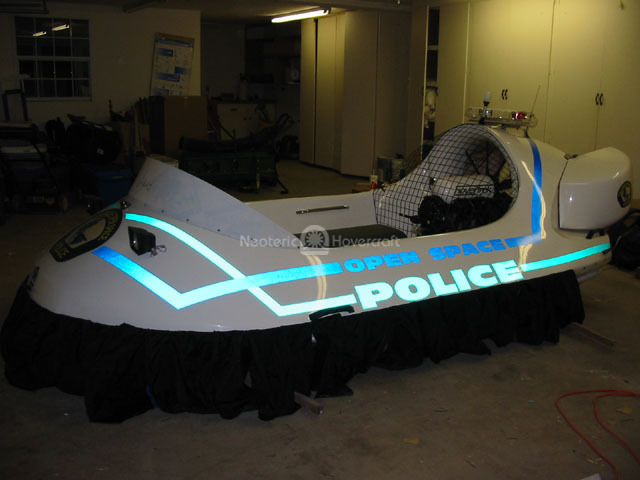
About HovercraftWhen we first took delivery of our unassembled Hovertrek I decided to have all the police striping and markings applied before I started any assembly. I took the new and empty hovercraft hull to a local company that stripes and marks all of our patrol vehicles. The employees of the company and I came up with a design that would be unique to the hovercraft but still match our patrol vehicles. The design company printed all of the markings (made from vinyl) and then started the challenging part, applying them. By using heat guns they were able to form the vinyl to the compound curves of the craft. We could not have asked for a more professionally done job.
After all the markings were installed I transported the hull and all of the parts to a small three-car garage owned by the city. I unloaded the marked hull then proceeded to unpack all of the parts, setting them in groups; engine area components, instrument components, seat area components, and so on.
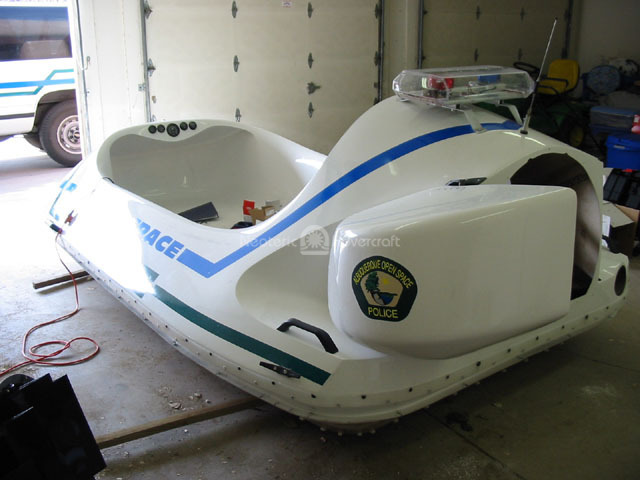
Once I had the parts in sections, and my tools set out, the first job I decided to tackle was to install our pre-selected emergency light bar. The bar we selected, as many in its class, came with mounts for a vehicle, so the trick was to make custom mounts to fit the hovercraft. Using some flat 1” wide aluminum, I fabricated two brackets (one for each side of the light bar). This took some time, as I had to make the brackets to accommodate the curvy outer top cowling, and identical to each other. Once the brackets were made the light bar bolted right on and was complete other than the wiring (to be done later).
The first items to be installed were the four lift handles, and the two chrome inboard handles for the passengers, these bolted in quick and easily. Since the hovercraft engine was out, I found there to be plenty of room in the duct, so I crawled in to tighten these bolts down. Next I inserted the aft thrust duct (held in place by un-popped rivets) so I could line up and install the split plates. This was very simple; the plates were riveted in place and then “gooped”. At this time I also installed the front “Nav” light in the nose, and the antenna for the police radio in the cowling. I created a ground plain by grounding it to the light bar, which is in turn grounded into the front grounding harness.
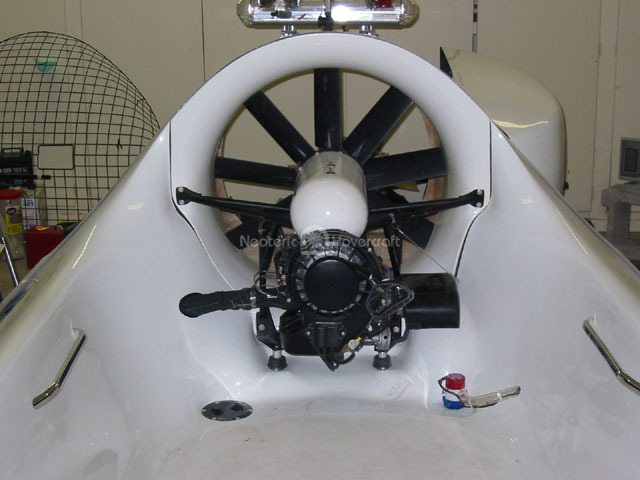
Next came the engine. I did not have the luxury of an extra set of hands or a hoist, so I managed first to set the engine in the hovercraft (slowly and carefully) and then began the task of aligning it. I finally installed it using the washers provided as shims, however I was not fully satisfied with my gaps. So I pulled it out and tried again. The second round of aligning the engine module took much longer than the first but the end result paid off, as I was very satisfied with the new gap. The module was in, and the thrust collar installed (I have to say the thrust collar made installation easy – compared to the old method I watched in the video!). Once this was done I installed the exhaust system (once again a simple installation) and heat shield for the starboard reverse bucket.
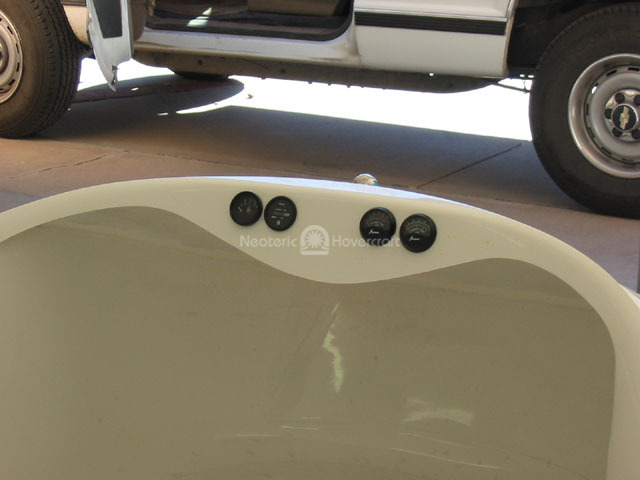
Holes were drilled and I started placing engine instruments in their places. Mounting the port-reversing bucket came next, this job took some attention and care, but I found it to be quite simple. The actuator was installed at this time but not wired yet. I assembled and installed the handlebars, steering assembly, and thrust reversing controls in the seat before its installation. Once these components were fitted, mounting the seat was a very simple operation. Next I installed the headlights and bilge pump. I started wiring the hovercraft, installing the wiring harness, and hooking up the engine instruments. Fuel tanks and fuel lines were also installed at this time.
I had to run an extra power line off the battery to be dedicated to the police radio, which is a digital 800 MHz trunking system. The radio was mounted on the inside starboard side just under the instrument panel with the siren stacked on top of the radio.
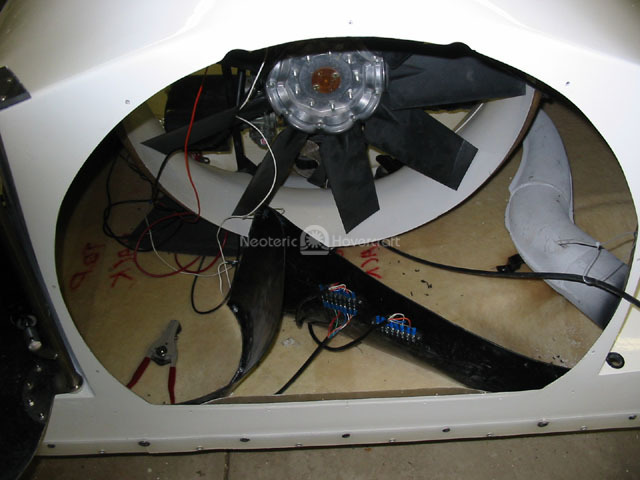
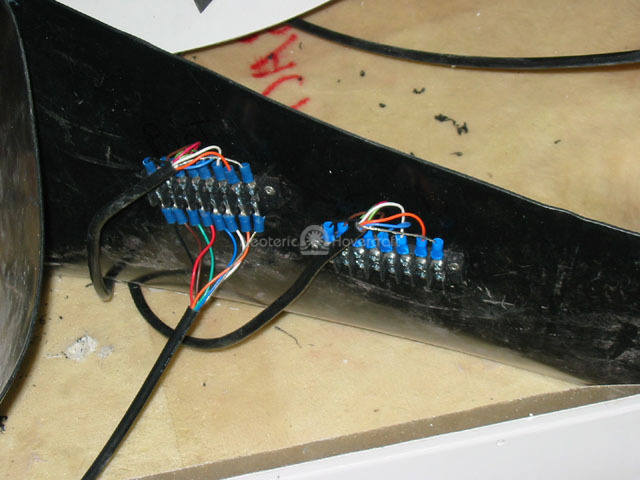
Being that the siren speaker we chose was fully encapsulated it was mounted in the hull facing forward out of sight, but in a manner that it would not impede airflow. The reverse thruster actuators were wired to the computers behind the split plate, and the antenna was connected to the radio.
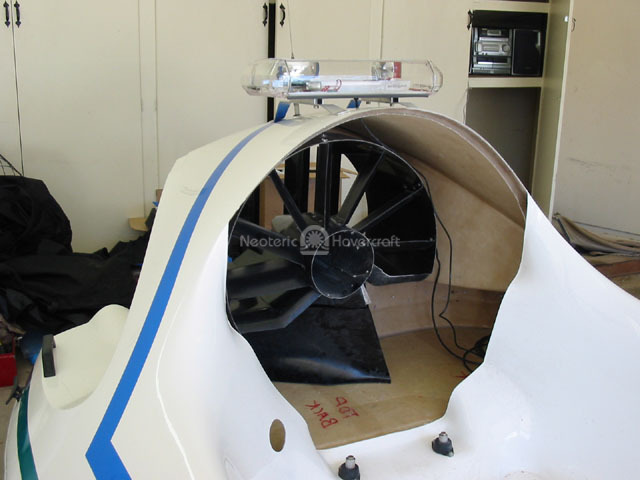
Once all the wires, fuel lines and engine controls were in place, the engine/fan screen was installed. The windshield was installed with the protective coating left on until testing.
Once all the wires had been run through, and mounted in the hull, the skirts were all installed. The rear thrust duct was mounted in place and the rudders installed. The hovercraft was checked over, all the systems were tested, and the test runs began. Aside from small adjustments the hovercraft has not needed any changes.