RESOURCES
About HovercraftHaving made a wooden hull, two-engine hovercraft many years ago with plans from Universal Hovercraft, I could see the many advantages of Neoteric’s advanced design with its reverse thrust system, including a light fiberglass hull and no large exposed prop subject to rapid tip damage from water spray. I also wanted to go with their partially assembled hovercraft kit and assemble it myself so that I could get a better understanding of its assembly and parts, which to me is very important in order to maintain it properly. The Neoteric hovercraft is a fine piece of engineering, and when I see the many design improvements that have been made over what’s shown in the accompanying video, its reassuring to know.
I took delivery of it in a snow storm, and the advantage of loading it on the higher bed of my pickup was that it was a fast, easy transfer for two people from the transport truck. I was impressed at how well all of the parts - right down to the washers and short wires - were neatly packaged and organized with a box manifest list, which allowed me to organize the parts into my waiting shelves.
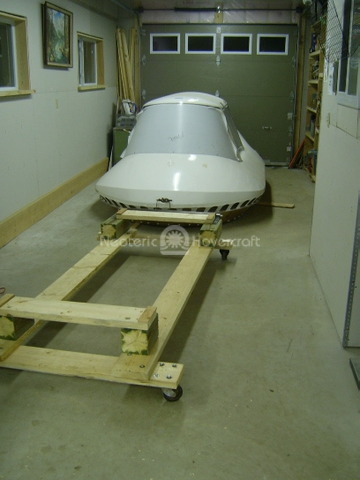
I chose to build my own trailer, so the first thing I had to do was build a dolly made out of 2x10s for working on it. With a fixed chain hoist (overkill, but the fine control was nice), the dolly was almost essential for positioning the machinery module in and out.
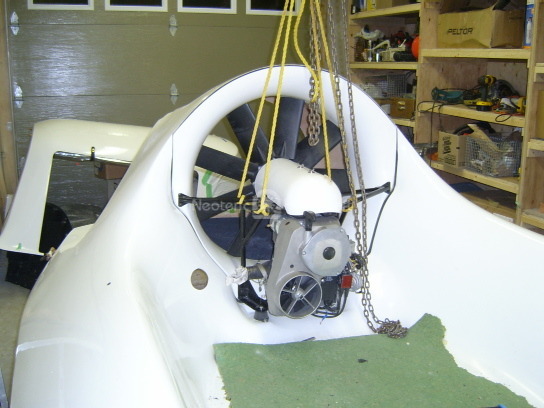
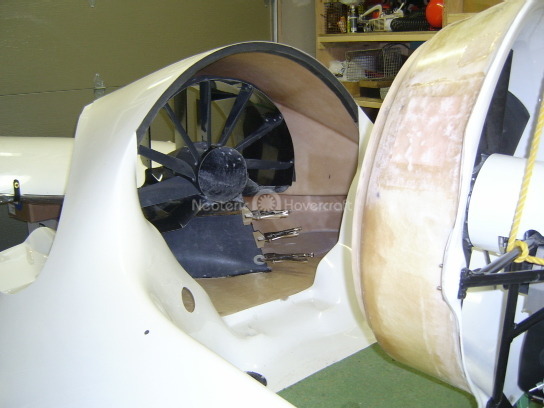
The first thing I tackled was the installation of the machinery module, which I had in and out at least a half dozen times before I was satisfied with the fit. I can appreciate how much simpler this mounting system is using a collar shroud, over what is shown in the video. I did have to consult Chris, though, on the glued-in foam pieces. The long foam piece glued to the upper third of the body cowl had to be cut with a taper in order for the bell to fit properly. After I was satisfied that I had the best fit I could have between the bell intake and the thrust duct, I removed the machinery module one last time to glue in the lift duct dividers. I was concerned with the extra gap that I had between the upper and lower splitters, so I added some fiberglass to the lower splitters even though Chris commented that it made no noticeable difference in the performance.
Next I mounted the thrust buckets. Here is some important advice given by Chris in the video: even after consulting the video and manual, always check the parts before you drill the holes. They no longer use lower plastic bearings for the buckets as they just rotate in 3/4” holes. Make sure that, in drilling the holes for the actuator clamps, you mount the actuators before you drill the top holes, as instructed. I ended up having to ream out my top holes and put an epoxy in to fill the gap - my only drilling mistake so far.
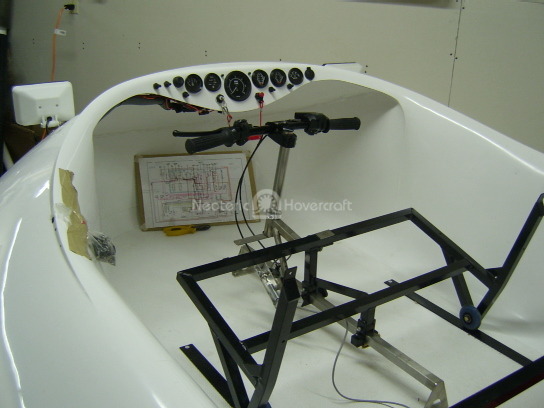
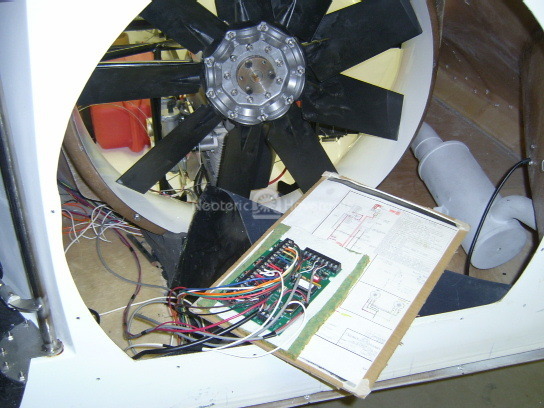
As I am not that comfortable with electronics, I put that next on my list while I had my more experienced friend to help me. First was to drill all of the holes to mount the instruments. You have to be a detective with a magnifying glass to see where the holes are marked, but believe them when they say the hole positions are marked - they are. I would recommend, though, that they perhaps go over the scribed hole positions with a black marker for those of us who do not have 20/20 vision. The hole saws make drilling the fiberglass neat and easy. Neoteric provides excellent pictorial/schematic diagrams which I had enlarged and spent several hours coloring in. This made the wiring quite easy to follow, even for me. The wiring harnesses pre-made with the proper ends already mounted made the wiring simple. I found that even the holes for the auxiliary mount plate were already drilled in the battery box.
The new digital controller that Neoteric is now using for the reverse thrust system is much simpler than the system shown in the video. There is now nothing to adjust at the back, as it can all be set up and adjusted from the driver's seat. When I first powered it up I thought there was something wrong as I did not understand how the system auto-calibrated itself. I was not prepared for the sound of the actuators as they bottomed out at each end of their stroke. Also I had to rotate the potentiometers by hand to find their correct range and then back them off about 30 degrees from where I originally had them set up with the cable control. After that it was easy to fine tune their adjustment from the hand levers.
I now have the skirt retention strips on and I see that Neoteric has added extra rivets along the top of them; again, it is important that you look ahead to make sure the skirt hangers will locate properly between these rivets.
In all I am finding the assembling of such a beautifully designed hovercraft very rewarding, and know that the understanding that I am gaining will make me much more confident in being able to maintain it properly. In another couple of weeks I should be able to complete my assembly report along with a driving report. Although I unfortunately am unable to make it down for Neoteric’s driver training course, I am glad that I do at least have the Questrek Training Video, which does give me some very good preparation information.
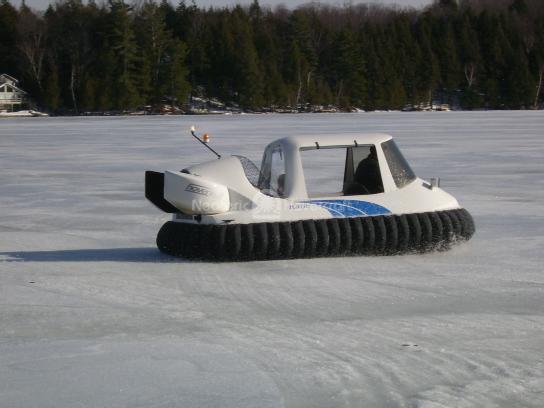
I am sending a couple pictures following this email, but within a couple weeks will send some pictures with the enclosed cabin on it & some added stripes & it’s name “Katie” on the sides. The Hovertreck decals are on the buckets. Also I will send a continued write up with more pictures for the Hover Garage, especially with details that I feel may help others.
A couple questions: For my first short outing, until I complete the break in procedure, I did not want to rev the motor too high (stayed under 4000), in applying more power to my turns to get out of those slides. Under my easy conditions, going not too fast on ice with no wind, what would be a reasonable rpm to go up to power out of the side slipping better? I don’t need it now, but have disconnected the extra gas tank as I don’t understand how it works. With both tanks connected do you have to have equal amounts of gas in each?
I am happy to report that yesterday I got “our” hovercraft out on the ice for its maiden flight & everything worked beautifully. I love how it cruises so quietly, smoothly, & effortlessly, at 1/2 throttle while keeping in a straight line on the ice. As expected I am going to need a lot more time to become competent with steering & maneuvering, but for smooth slowing down or stopping, I found the buckets very effective and easy to use.